Whitewashing brick is a simple DIY project that can completely change how a room or exterior looks. No expensive contractors. No complicated tools.
In this guide, you will learn what whitewashing is, what materials you need, how to prep your brick, and how to apply it step by step.
I have whitewashed walls and fireplaces myself, and I know the small details that make a big difference.
This guide will help you avoid common mistakes and get a clean, lasting finish the first time.
If you want a bright, textured look without covering up your brick completely, you are in the right place.
What Is Whitewashing Brick?
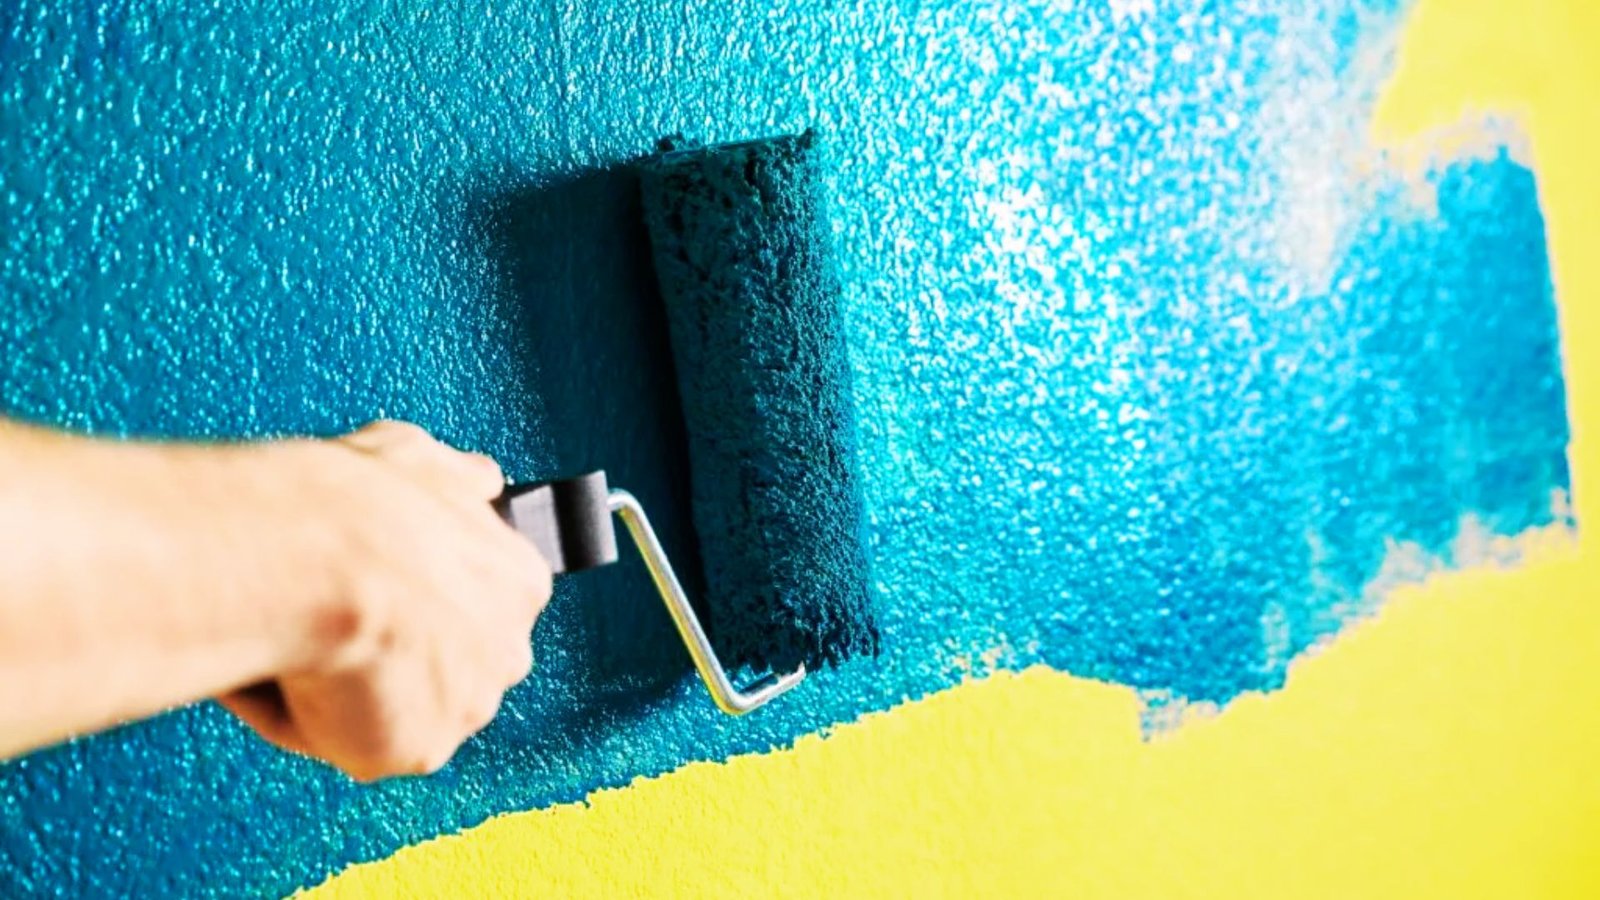
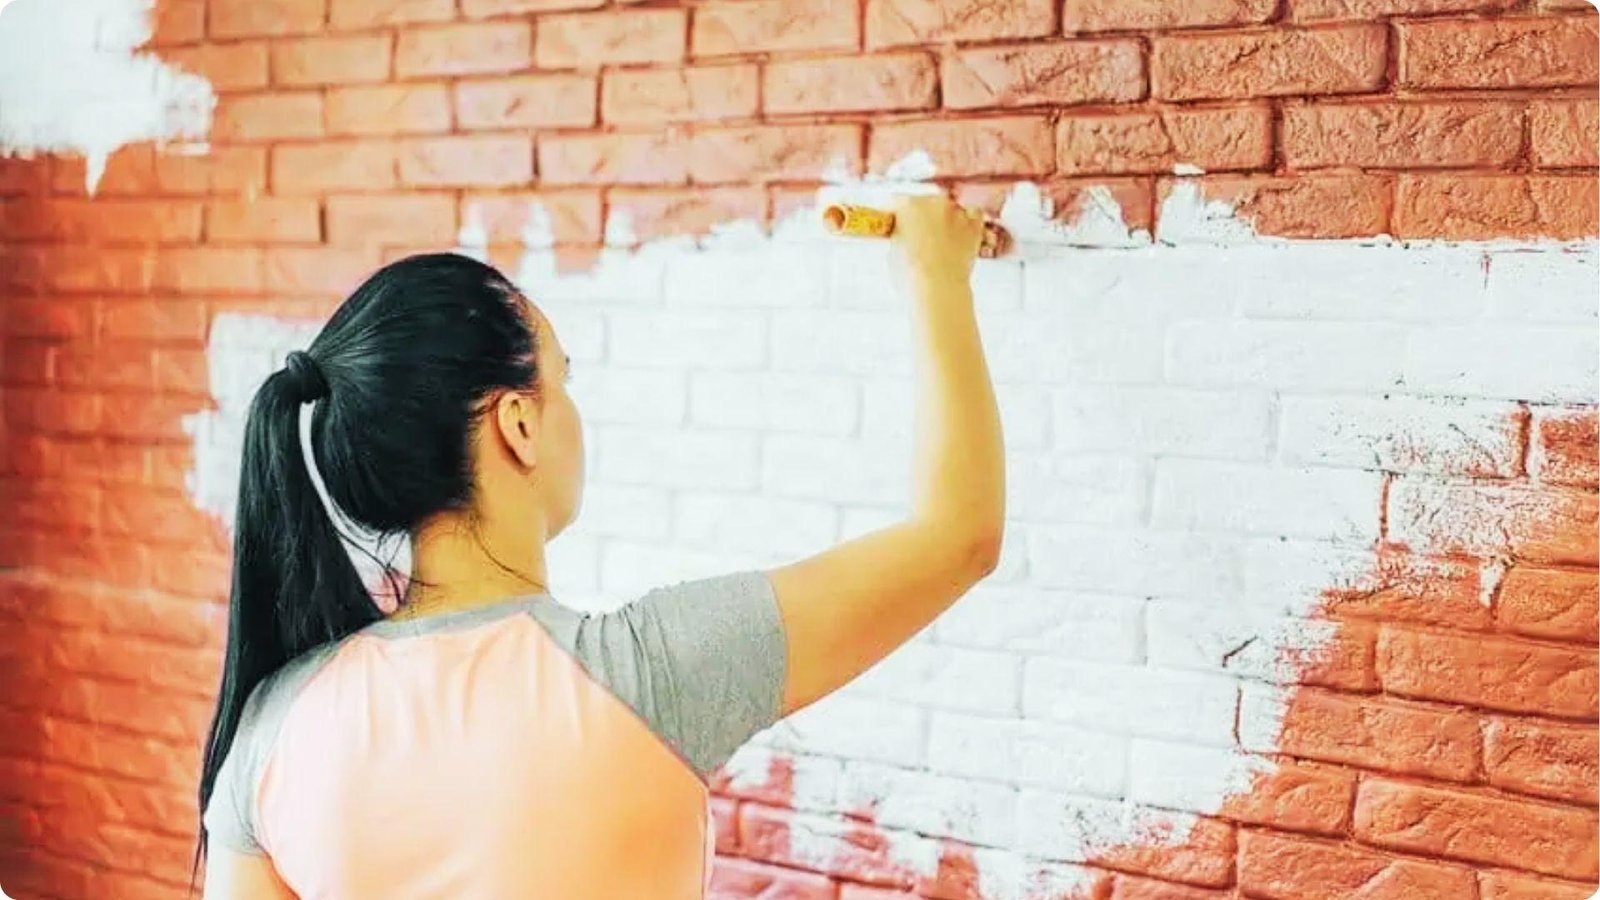
Whitewashing brick is a technique where you apply a thin, watered-down white mixture directly onto brick.
Unlike paint, it does not cover the surface completely. The texture, color, and character of the brick still show through.
The result is a soft, faded white tone that looks natural and layered. It has been used for centuries on both interior and exterior surfaces.
Today, it is a popular DIY choice for homeowners who want to brighten up old or dark brick without losing the look of the original surface. It costs very little and gives results that look like a professional finish.
Can You Whitewash Any Type of Brick?
Not all brick surfaces are the same. Knowing which type you are working with helps you get better results.
Interior Brick Walls
Interior brick is the easiest to work with. It stays dry and protected, so the finish lasts longer. Make sure the surface is clean and fully dry before you begin.
Brick Fireplaces
Fireplace brick collects soot and grease over time. Clean it thoroughly before applying anything. Standard whitewash works fine on the surround, but use a heat-tolerant mix near the firebox.
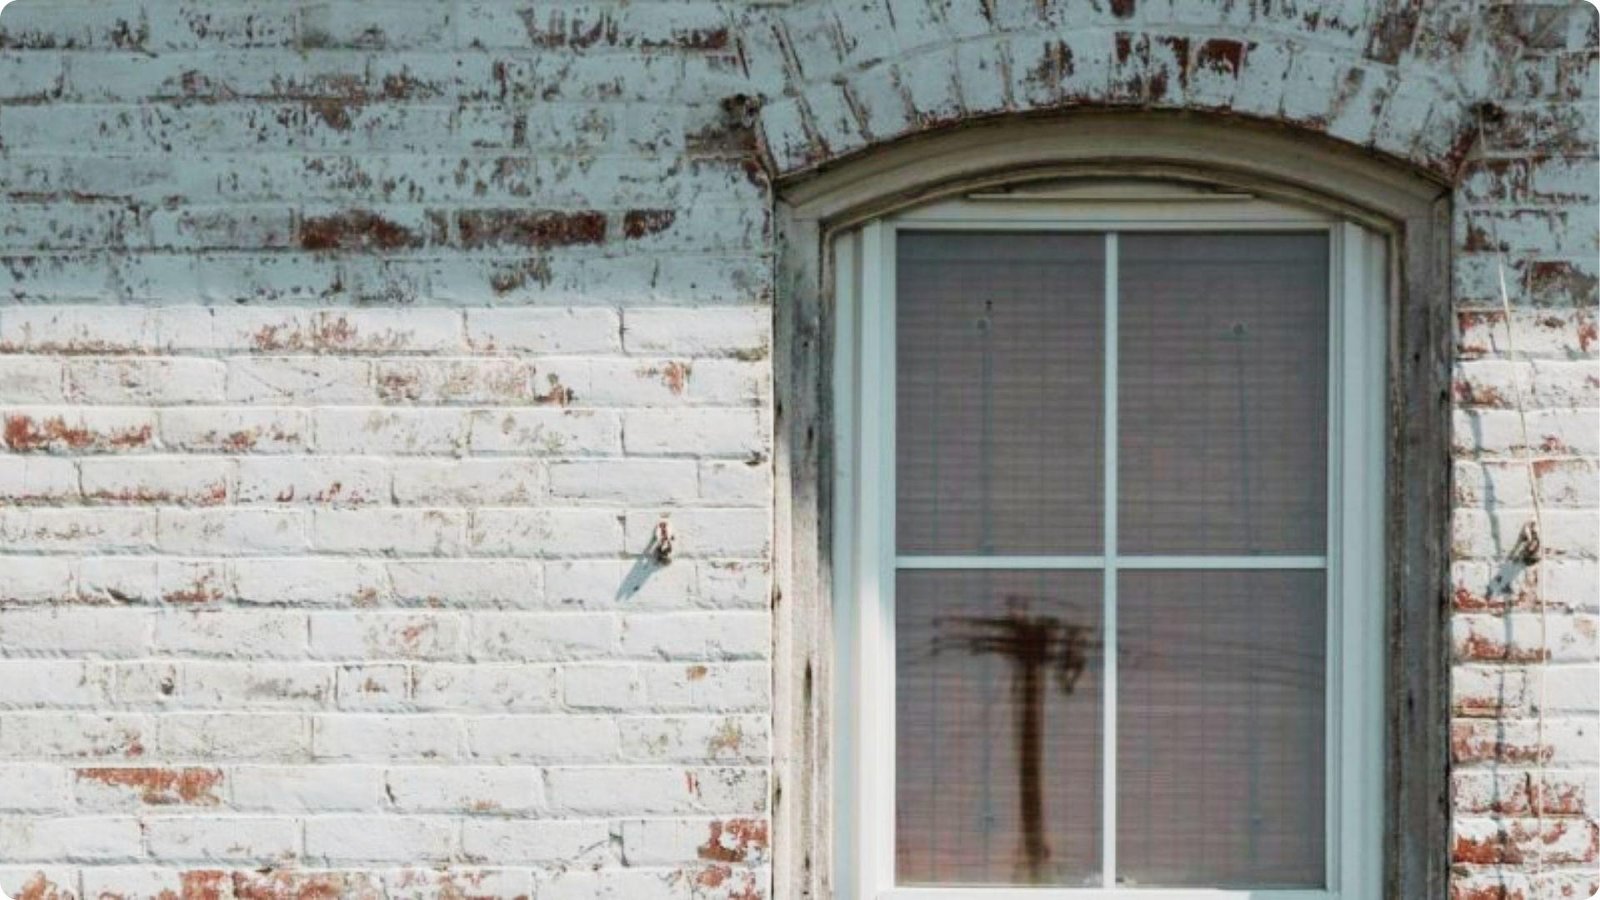
Exterior Brick Walls
Exterior brick needs more prep than interior surfaces. Dirt, mold, and weathering build up over time. A pressure wash and full drying period are important before you apply the whitewash.
Full Brick House Exteriors
Whitewashing a full house exterior is very doable. You will need more time, more materials, and likely a second coat. Start with one wall first to get comfortable with the process.
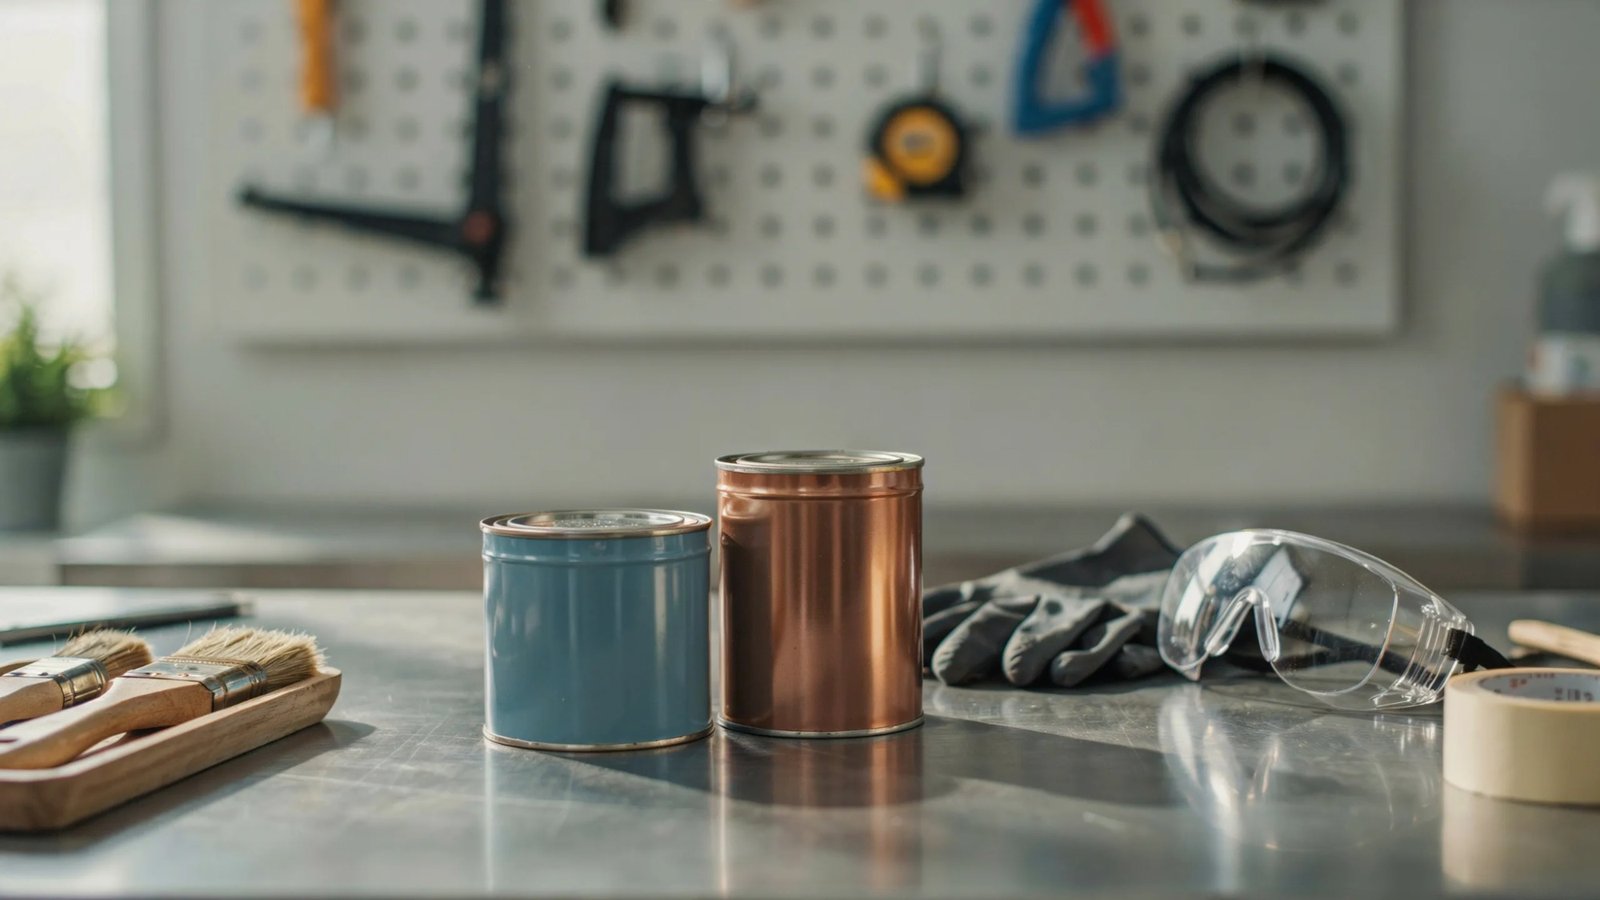
Materials and Tools Needed for Whitewashing Brick
Having the right tools before you start makes the whole process smoother and saves you time.
White Latex Paint vs. Limewash
White latex paint mixed with water is the most common and affordable option. Limewash is more traditional and gives a softer, more weathered finish. Both work well, so choose based on the look you want.
Cleaning Supplies and Safety Equipment
You will need a stiff brush, warm water, and a basic cleaning solution. Wear gloves and eye protection throughout the process. If using lime-based products, add a dust mask to your setup.
Brushes, Rags, and Mixing Tools
A large chip brush or masonry brush works best for applying the whitewash. Old cotton rags help you wipe back and control coverage. Keep extra rags on hand so you are always using a clean one.
Preparing Brick for Whitewashing
Good prep work is what separates a clean, lasting finish from one that peels or looks uneven.
Inspecting the Surface for Damage
Look closely at the brick before starting anything. Check for cracks, crumbling mortar, or loose pieces. Repair any damage and let it cure fully before moving forward.
Cleaning Dirt, Dust, and Stains
Brush off loose debris, then scrub with a damp brush and mild cleaner. Use a masonry cleaner for tough stains or soot. Let the brick dry for at least 24 hours before whitewashing.
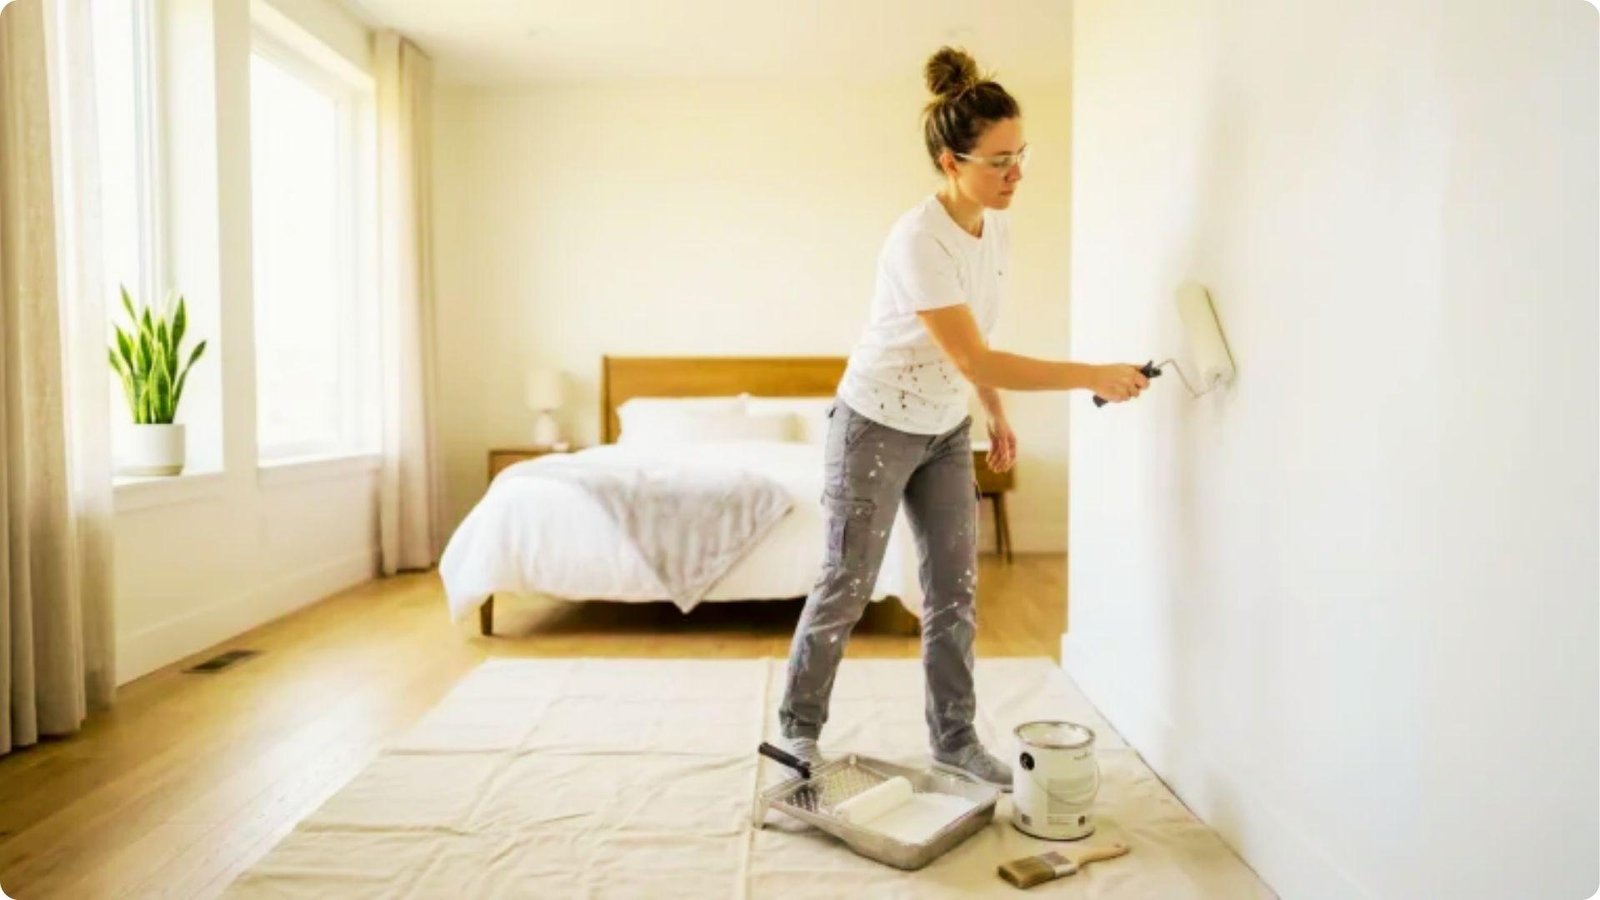
Protecting Surrounding Areas
Use painter's tape on trim and surfaces you want to keep clean. Lay drop cloths on the floor below your work area. Cover fireplace openings to keep out drips and dust.
How to Whitewash Brick Step by Step
Follow these steps carefully and you will get a clean, even finish that looks great from the start.
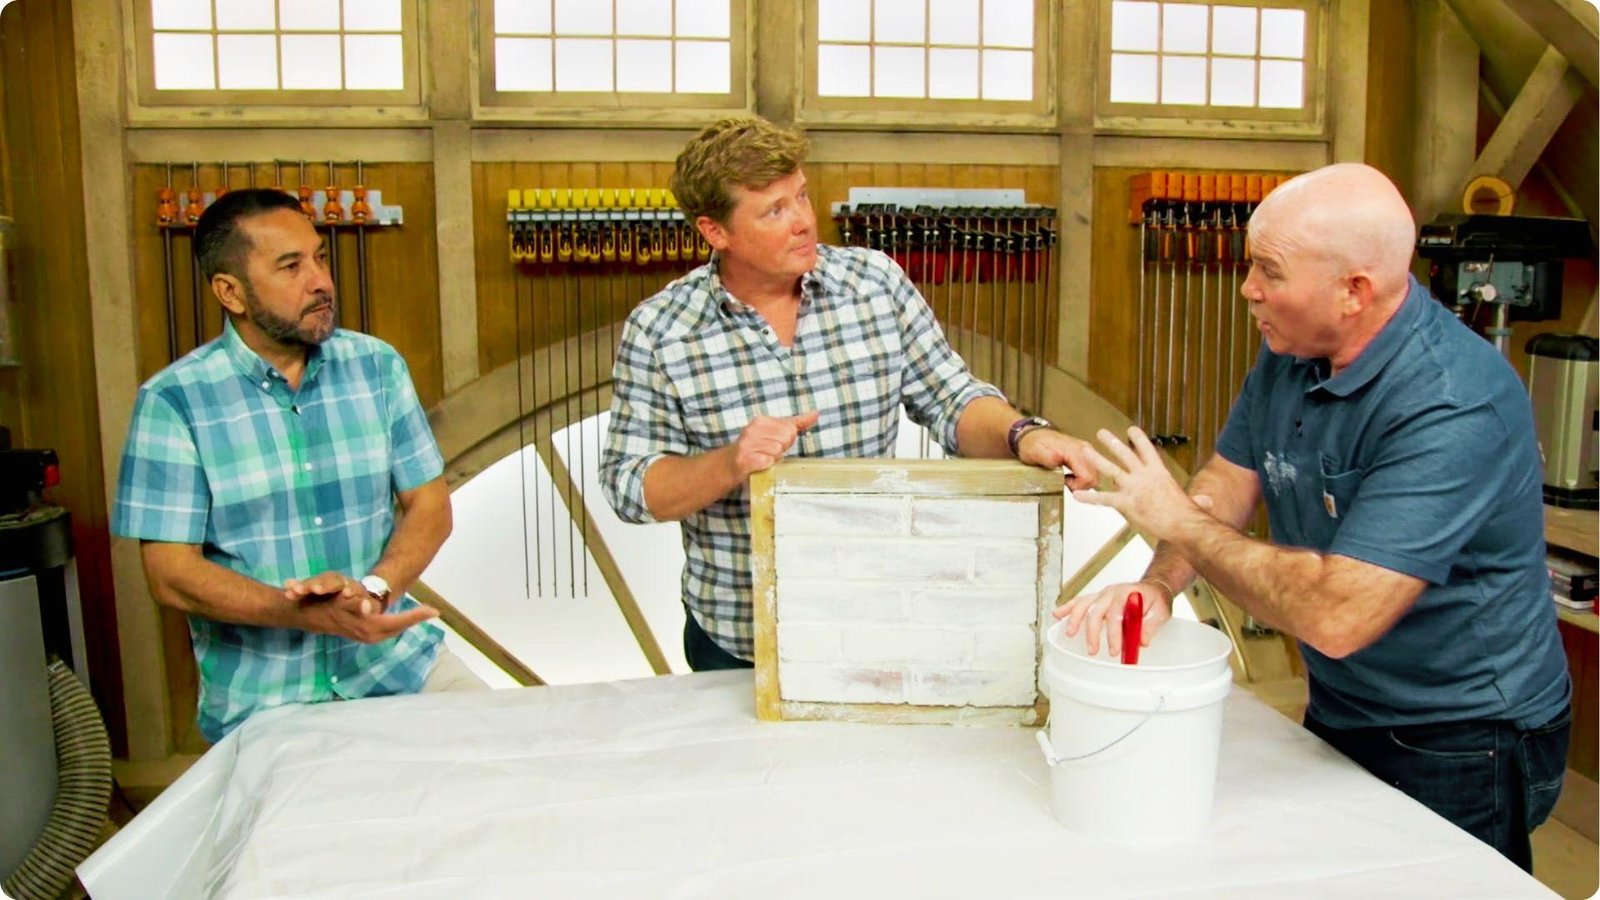
Step 1: Mix the Whitewash Solution

Mix one part white latex paint with one part water and stir well. Add more water for a lighter finish or less for heavier coverage. Always test the mix before applying it to the full surface.
Step 2: Test the Mixture on a Small Area
Apply a small amount to a hidden section of brick and let it dry. Whitewash dries lighter than it looks when wet. Adjust your water ratio based on what you see.
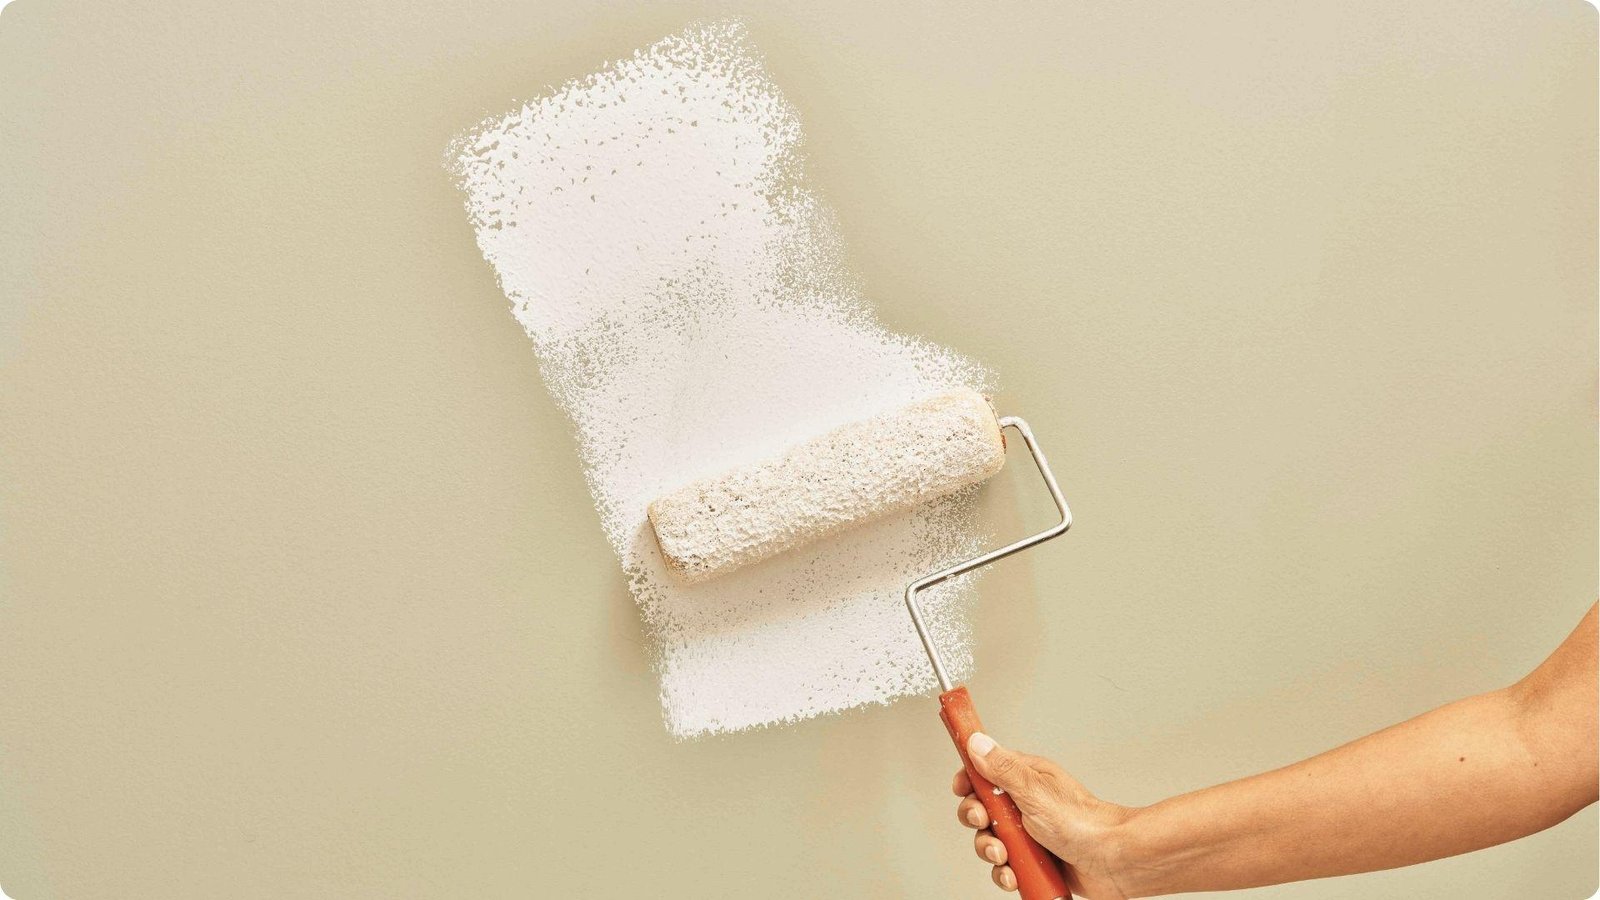
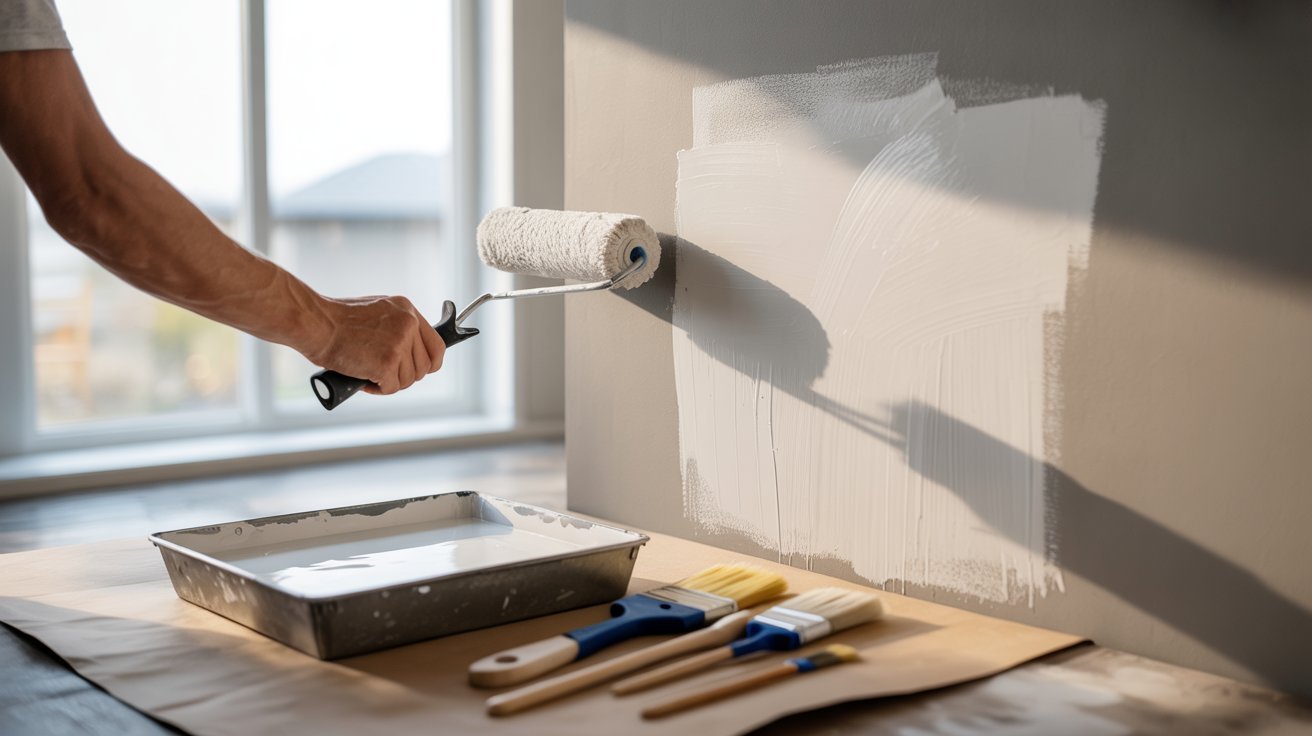
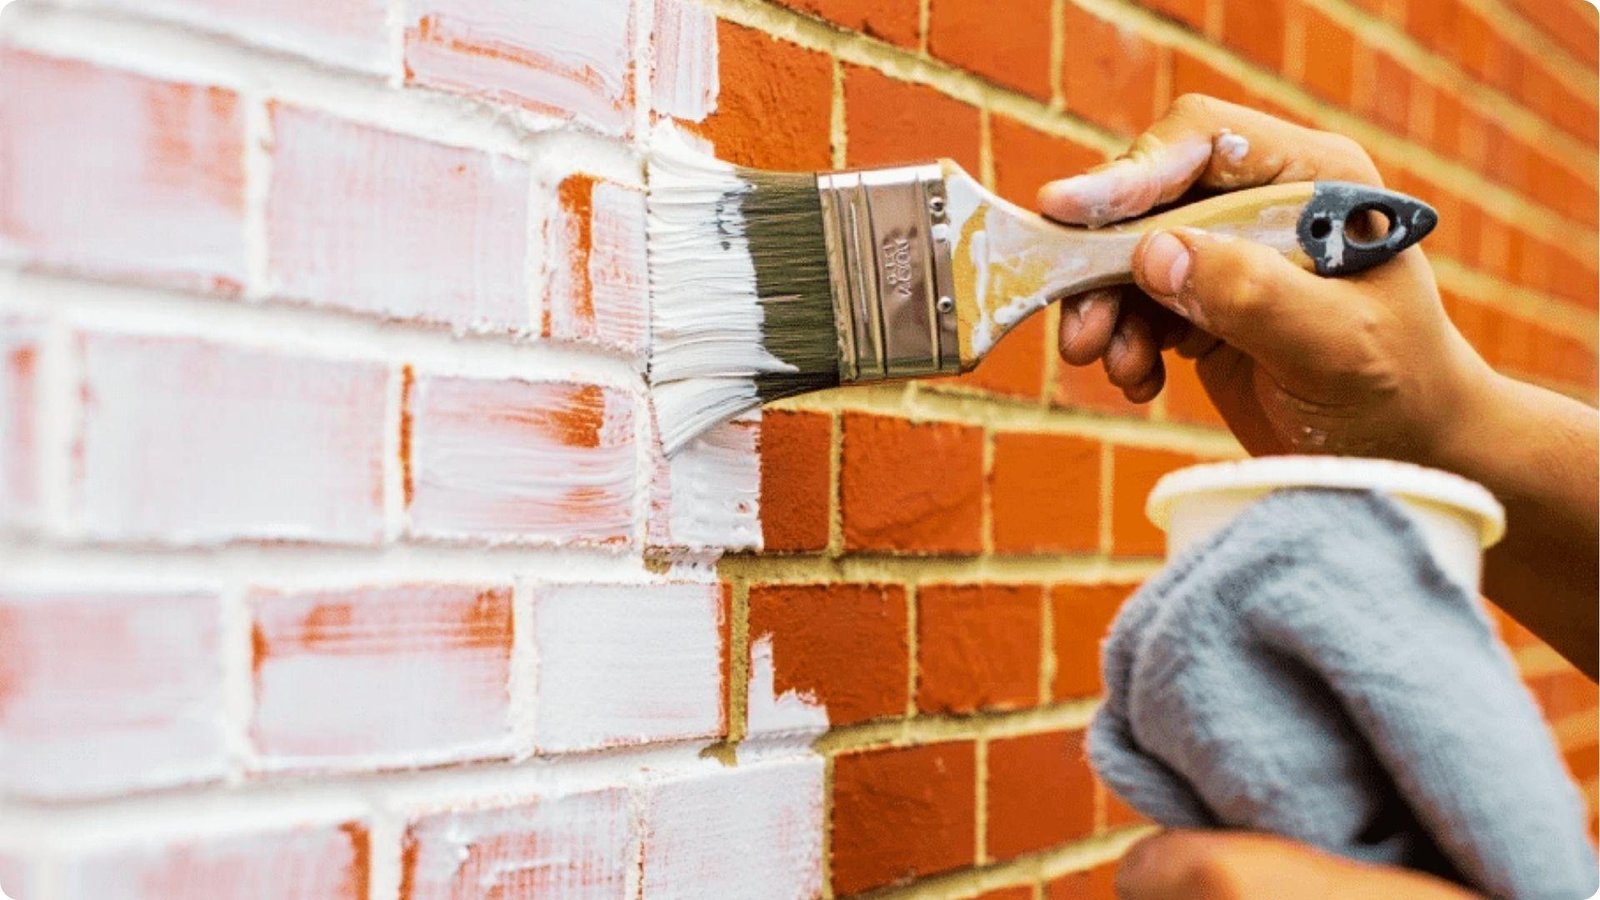
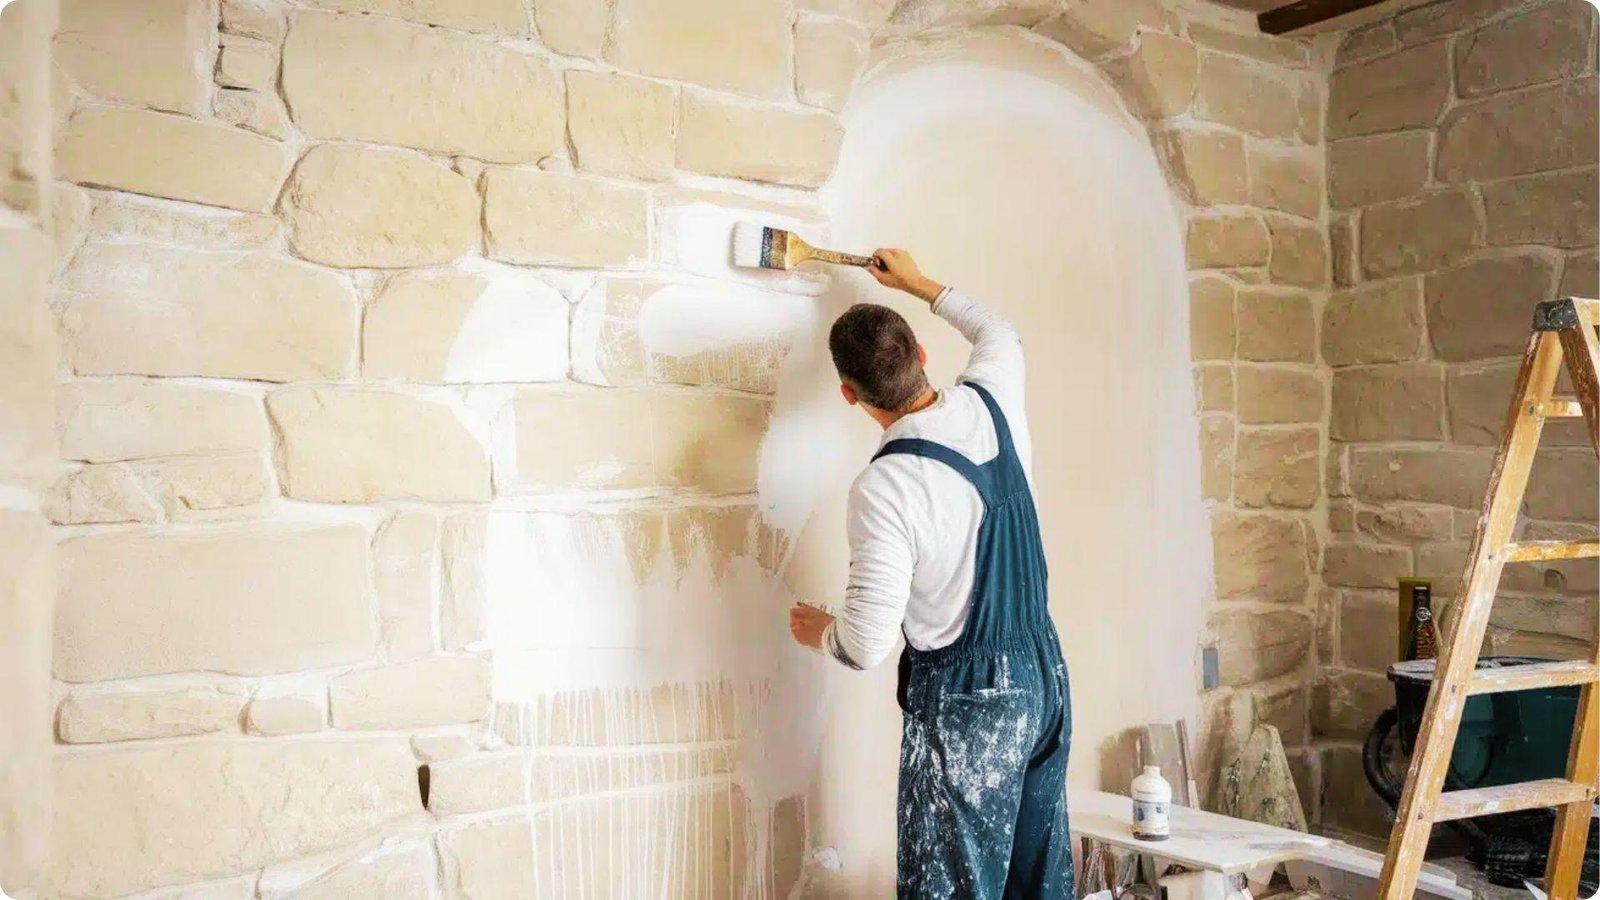
Step 3: Apply Whitewash in Sections
Work two to three square feet at a time using short strokes in different directions. Push the mix into the brick texture and mortar joints. Do not try to cover the full wall in one pass.
Step 4: Wipe Away Excess and Let It Dry
While still wet, use a clean rag to wipe away excess whitewash. The more you wipe, the more brick shows through. Let each section dry fully before moving on.
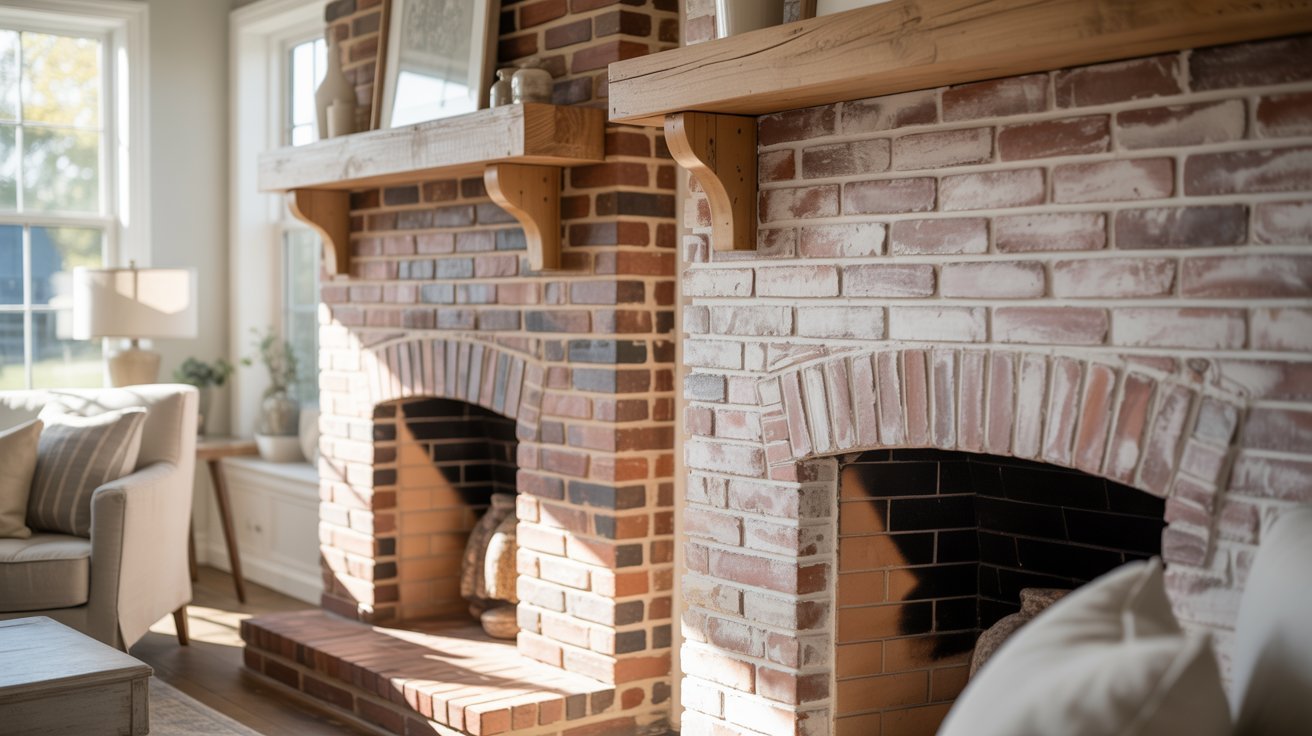
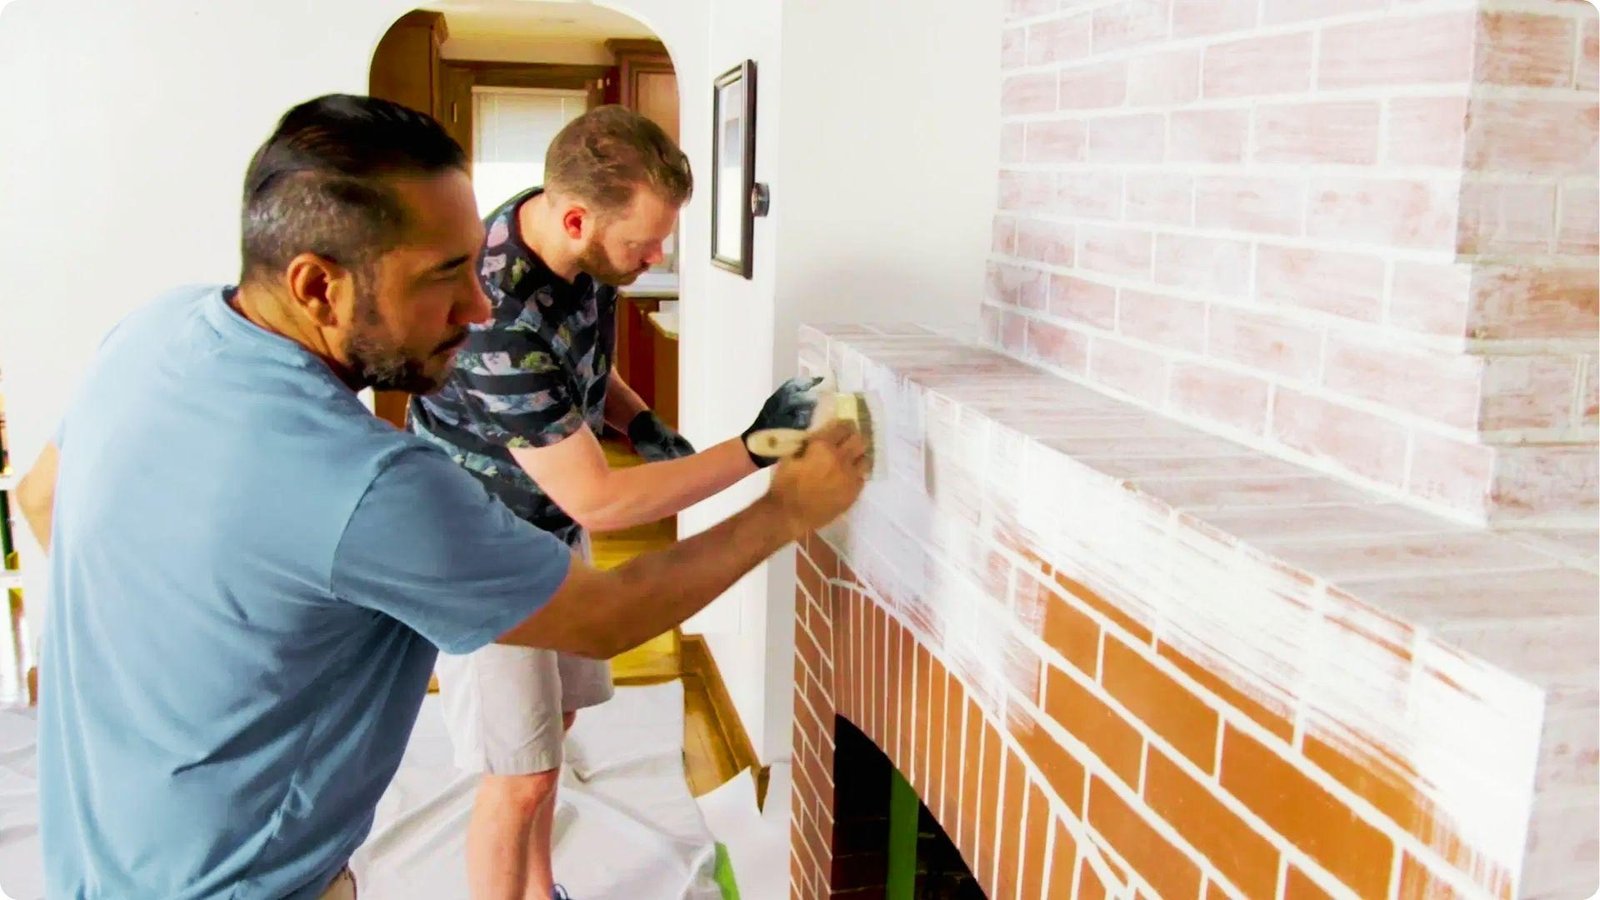
Whitewashing a Brick Fireplace

A fireplace is one of the most popular places to whitewash, and the results can completely change the feel of a room.
Preparing Fireplace Brick
Scrub the brick with a degreasing cleaner and stiff brush to remove soot and grease. Let the surface dry completely before applying anything.
Tape off the mantle, hearth, and surrounding walls to protect them.
Applying Whitewash Evenly
Work in small sections and push the whitewash into the mortar joints as well. Take your time since fireplace brick often has uneven tones and textures.
Even coverage across the full surface gives a more finished look.
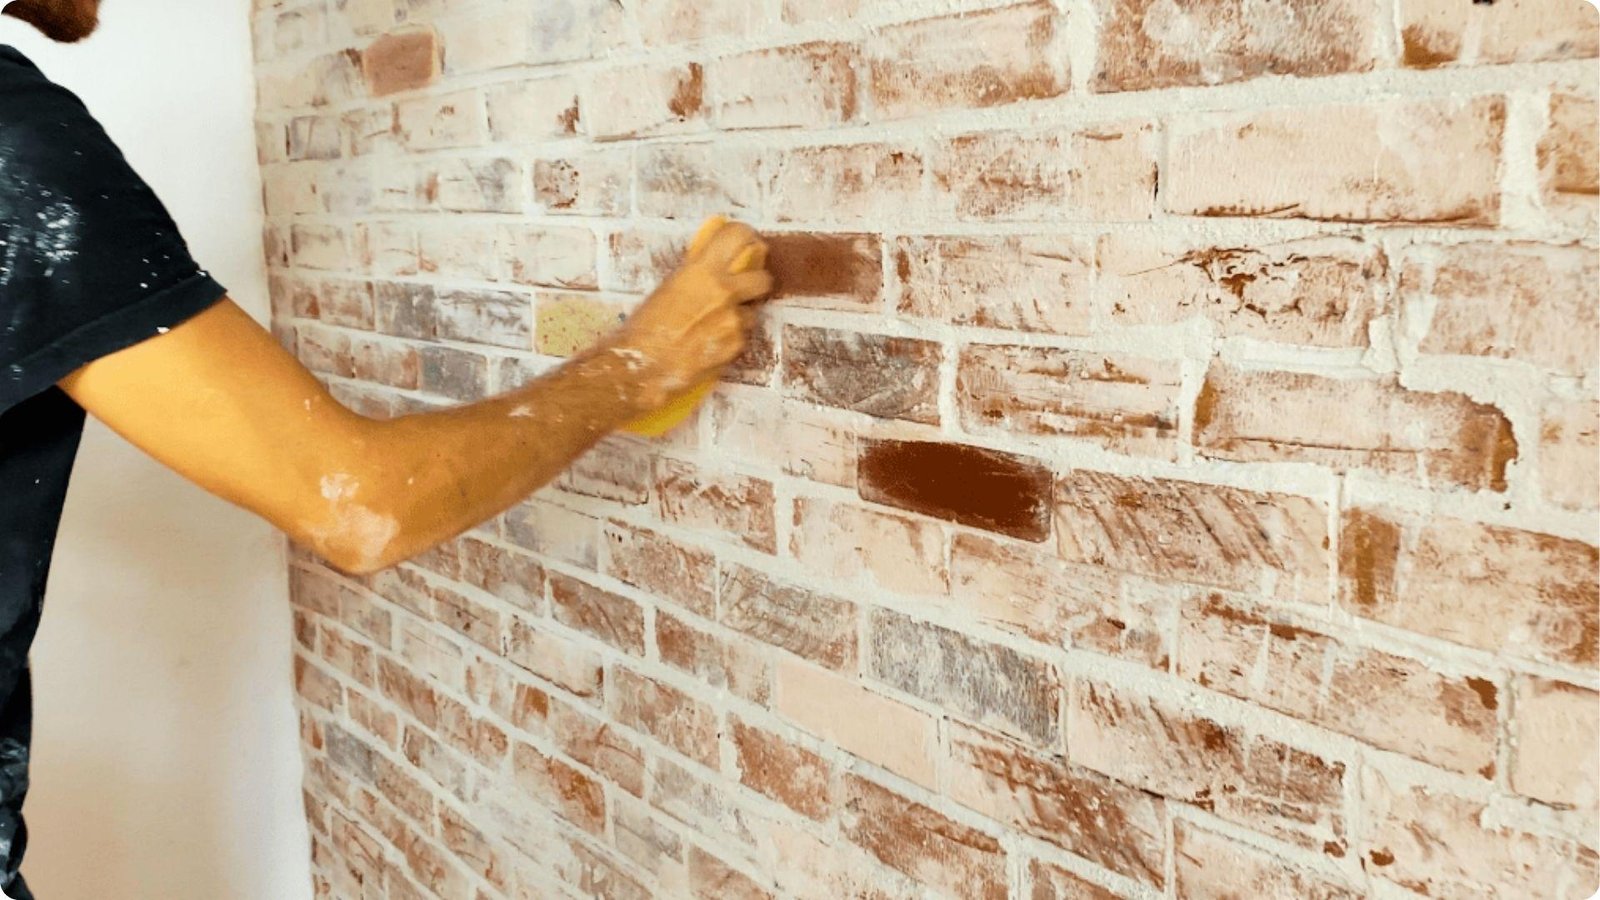
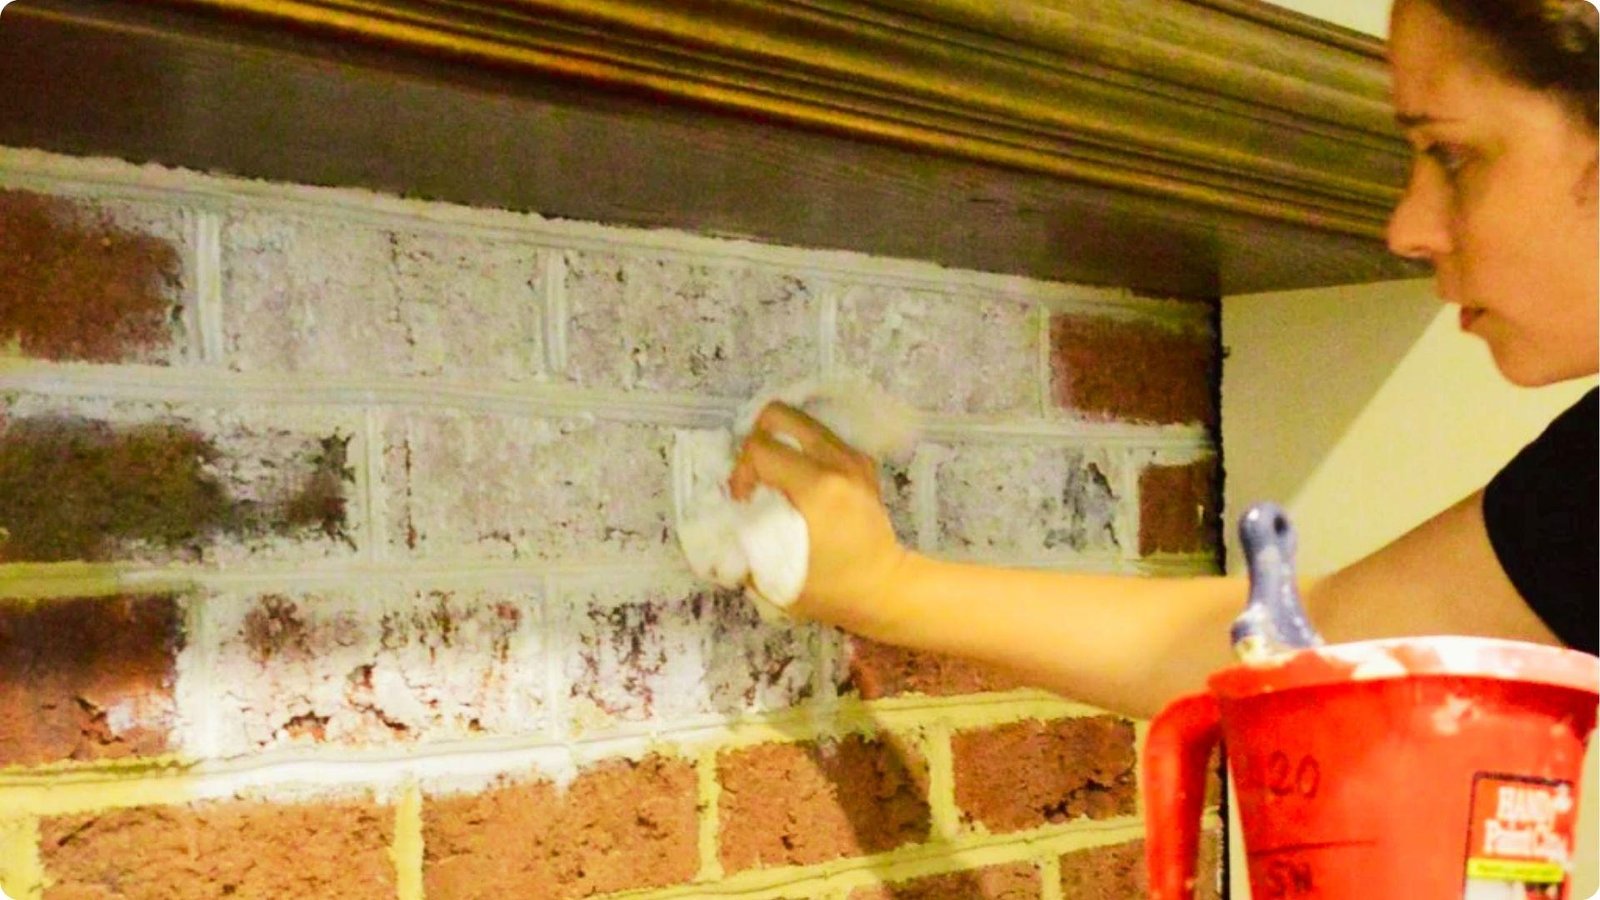
Creating a Soft Whitewashed Finish
After applying each section, wipe back with a damp rag to let some brick color show through. The goal is a layered, natural look rather than full white coverage.
This small step makes a big difference in the final result.
Drying and Curing Tips
Let the first coat dry fully before adding another. Most surfaces take one to two hours to dry.
Avoid using the fireplace for at least 24 to 48 hours so the finish can cure properly.
Whitewashing an Exterior Brick Wall or House
Exterior whitewashing takes more planning, but the payoff is a home that looks refreshed without a major renovation.
Choosing the Right Weather Conditions
Work on a dry day with temperatures between 50 and 80 degrees Fahrenheit. Avoid direct sunlight and days with rain expected within 24 hours.
The whitewash needs time to set before any moisture hits it.
Preparing Exterior Brick Surfaces
Pressure wash the brick and let it dry for 24 to 48 hours. Repair any cracked or damaged mortar before you start.
Remove mold or mildew with an appropriate cleaner beforehand.
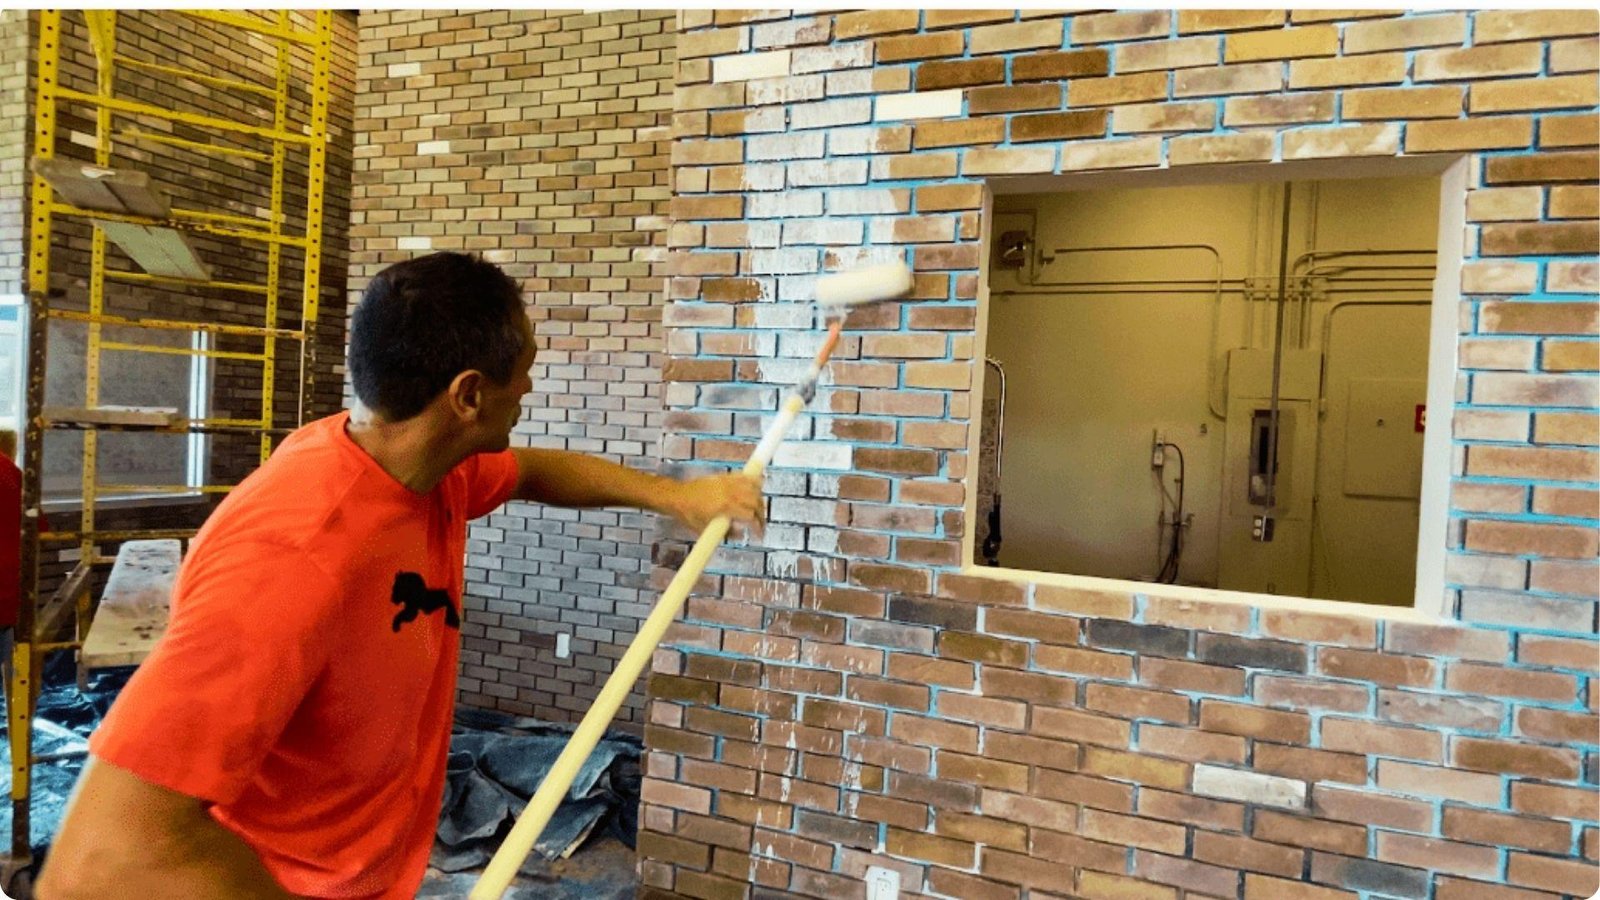
Applying Whitewash for Consistent Coverage
Work from top to bottom in manageable sections. Use a large brush or roller and keep a wet edge to avoid lap marks.
Wipe back with a rag or sponge as you go to blend the finish.
When to Apply a Second Coat
Check coverage once the first coat dries fully. Apply a second coat if areas look too thin or uneven. Wait two to four hours between coats for the best result.
Choosing the Right Whitewash Coverage
Coverage is all about personal preference, and knowing your options helps you plan before you start.
Light Whitewash Finish
Use two to three parts water to one part paint for a light finish. The brick color and texture stay very visible. This is a good starting point if you are new to the process.
Medium Coverage Finish
Equal parts paint and water give a balanced, noticeable white tone. The brick still shows through but looks noticeably brighter. This is the most common choice for walls and fireplaces.
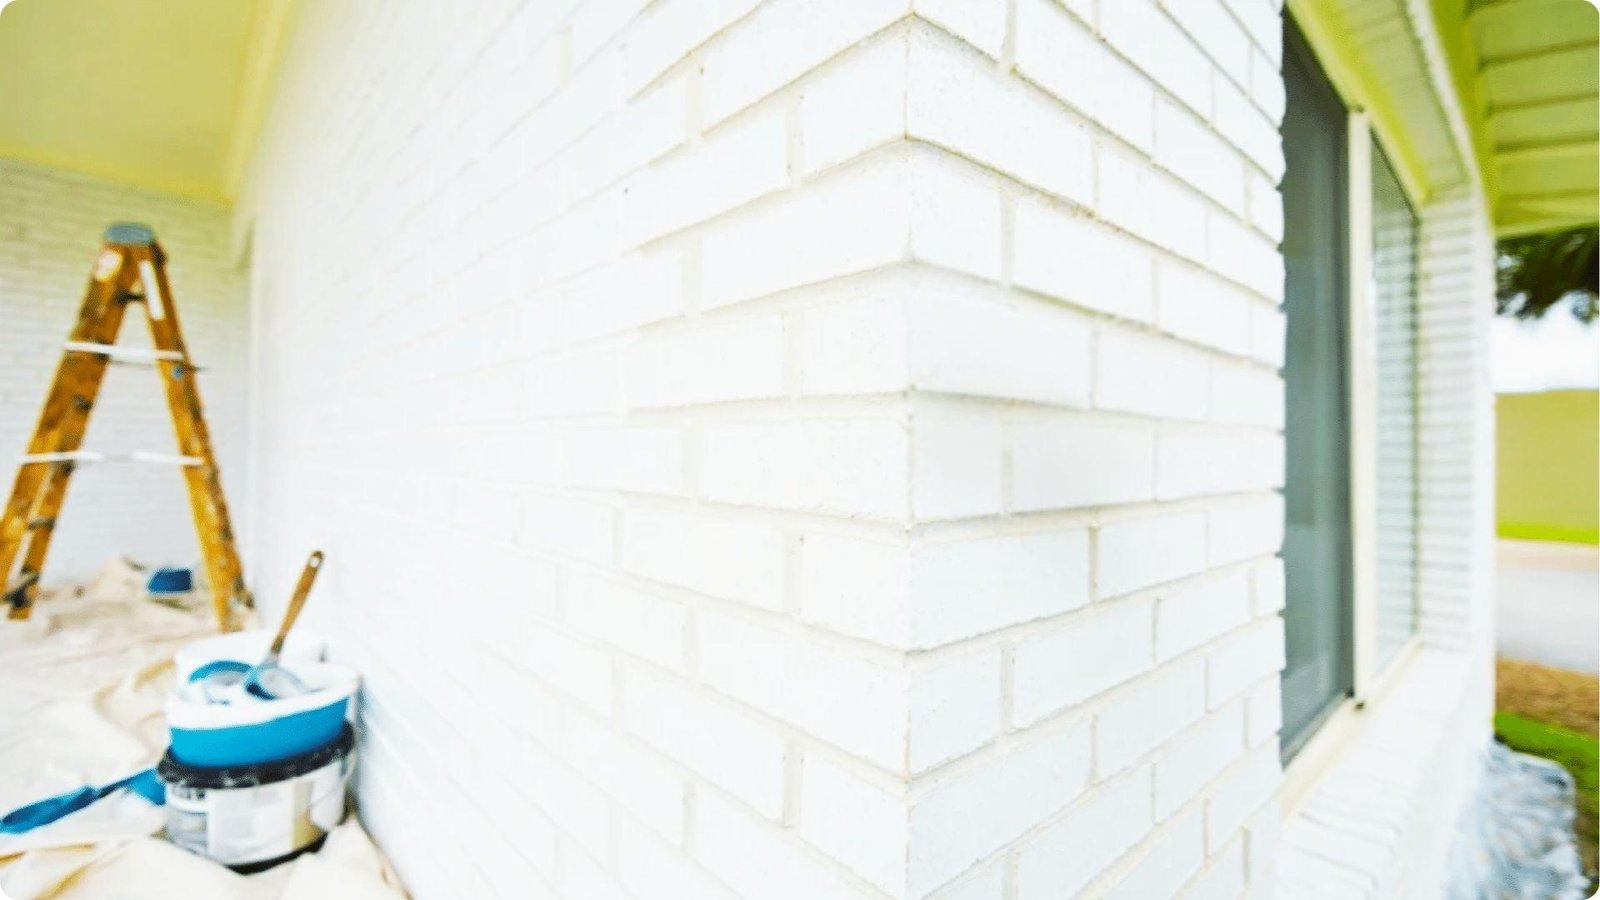
Heavy Whitewash Finish
Use two parts paint to one part water for heavier coverage. The brick becomes mostly white with just a hint of texture. This works well when you want a clean, bright finish.
Tips for the Best Whitewashed Brick Results
Small habits during the process make a real difference in how the final result looks.
- Work two to three square feet at a time so the whitewash does not dry before you can wipe it back.
- Start with a lighter mix and build coverage gradually with a second coat if needed.
- Swap out rags regularly so you are not smearing old whitewash onto fresh areas.
- Match your finish level to your home style: light for rustic, medium for modern, heavy for minimal interiors.
- Always test your mix on a small hidden area before committing to the full surface.
Conclusion
Whitewashing brick is one of those projects that feels big but is very manageable once you start.
I did my first fireplace whitewash on a weekend with nothing but a brush, some paint, and a few old rags. It made a real difference.
Whether you are working on a fireplace, a wall, or an entire exterior, take it one section at a time.
If this guide helped you, leave a comment below and share how your project turned out. I would love to see it.
Frequently Asked Questions
How Long Does Whitewashed Brick Last?
Interior whitewash can last 20 years or more with no maintenance. Exterior surfaces may need a fresh coat every five to ten years depending on weather conditions.
Can You Whitewash Painted Brick?
Yes, but whitewash bonds better to raw, porous brick. On painted brick, it may sit on top rather than soaking in, which affects the final look.
Does Whitewashing Damage Brick?
No, whitewashing does not damage brick when done correctly. The water-based mix is thin enough to let the brick breathe naturally.
Can Whitewash Be Removed?
Yes, it can be removed with a stiff brush and water, though it may take several rounds of scrubbing. Limewash is generally easier to remove than latex-based whitewash.
Is Limewash Better Than Whitewash?
Both work well but serve different needs. Limewash is more breathable and gives a softer look, while latex whitewash is easier to find and apply.